
ICSISP Outlook Express Setup Guide
1) Open Outlook Express, go to the "Tools" menu (if you get other pop-up screens when opening Outlook Express, click the cancel button next to them until you can click on the "Tools" menu), and click on "Accounts..."
2) When the "Internet Accounts" window appears, click on the "Mail" tab. Click and hold on the "Add" button, moving your pointer over the "Mail..." label and release the mouse button.

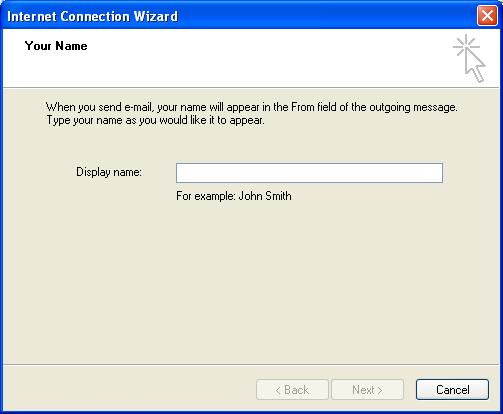
3) The "Internet Connection Wizard" dialog starts, begin filling out the information it asks for: First, the name you want to appear on all your e-mails you send to people. (NOTE: This can be a nickname or your frist and last name.)
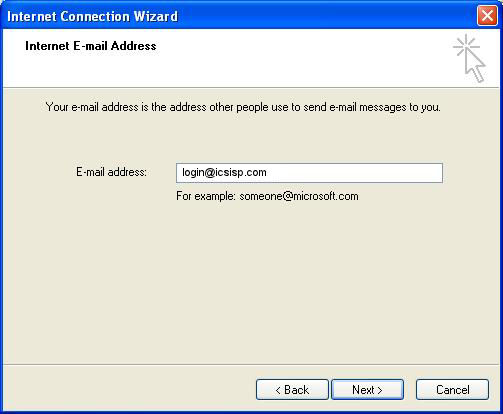
4) Then enter in your E-mail Address. Example: username@icsisp.com
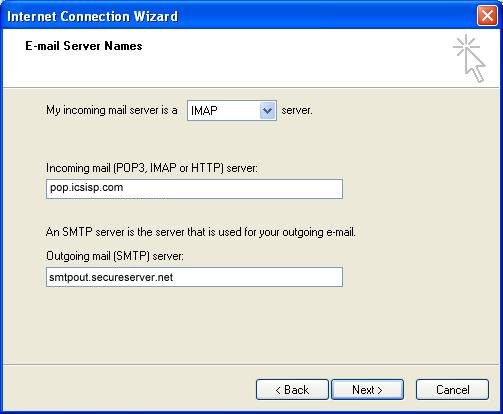
5) Next, Make sure My Incoming Mail Server is a "POP3" Server is selected. Now enter the incoming and outgoing e-mail server information as is shown below:
Incoming Mail Server: mail.icsisp.com
Outgoing Mail Server: smtpout.secureserver.net
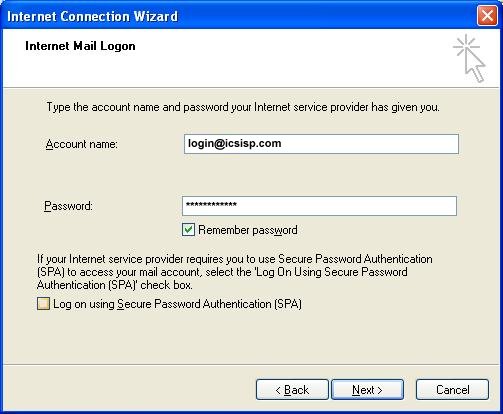
6) Now, enter your Internet ID and password for your e-mail account (you don't need to put in the password, but if you do, it will be automatically sent to the e-mail server everytime you connect to it so long as the check is in the box next to "Remember Password"): (NOTE: Your user name is your email address: username@icsisp.com)
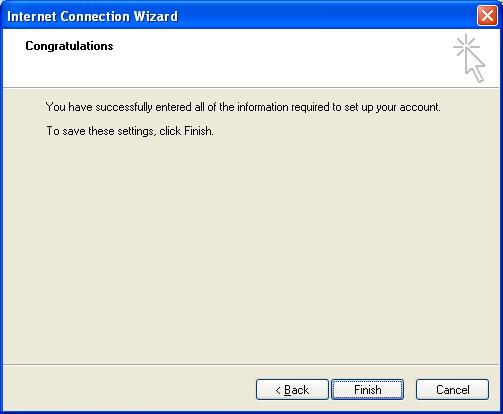
7) You should end up at this window, so click "Finish":
8) Now we are back to the "Internet Accounts" window, and you should see the account we just created appear there (make sure you're still on the "Mail" tab if it does not):
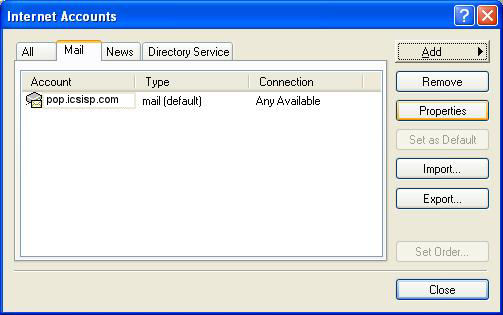
9) Click once on the account you just created, then click on the "Properties" button, you will see a window appear titled "mail.icsisp.com Properties" that has many tabs along the top. Click on the one that says "Servers". Verify that your settings are the same as in the image below. (NOTE: If the box My server requires authentication - is not checked please check that box.)

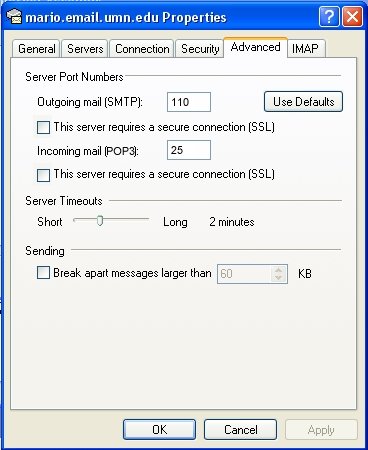
10) In that same window, click on the "Advanced" tab, and adjust the settings to reflect the settings in the image below:
Outgoing mail (SMTP): 110
This server requires a secure connection (SSL): unchecked
Incoming mail (POP3): 25
This server requires a secure connection (SSL): unchecked
If you frequently experience timeout errors due to large messages or a slow Internet connection, you may wish to increase the Server Timeout value to max at 5 minutes.
11) Click "OK" in this properties window, then "Close" in the "Internet Accounts" window.
Performance Improvement:
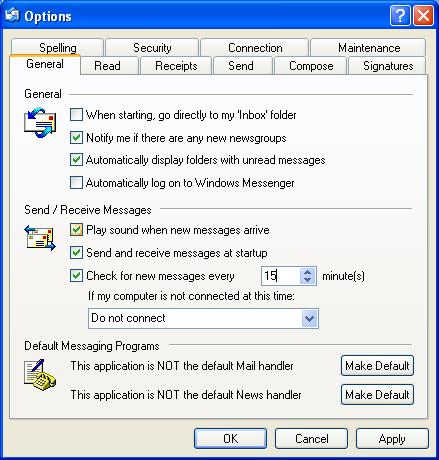
1) Back in your main e-mail window, click the "Tools" item on the menu bar, and select "Options..."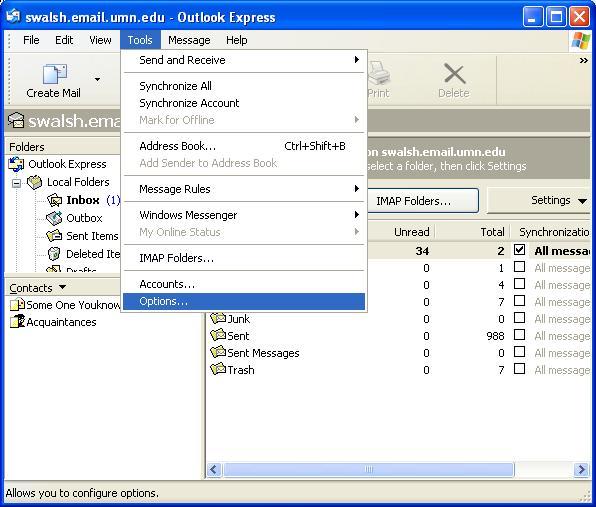
2) Make sure that the "General" tab is selected. There are a great number of options here to explore, but the one that we are concerned with right now is the checkbox labeled "Check for new messages every __ minutes". Make sure this option is checked and set the value to 15 minutes. When finished, click the button labeled "OK" to return to Outlook Express's main window.
Address Book Setup
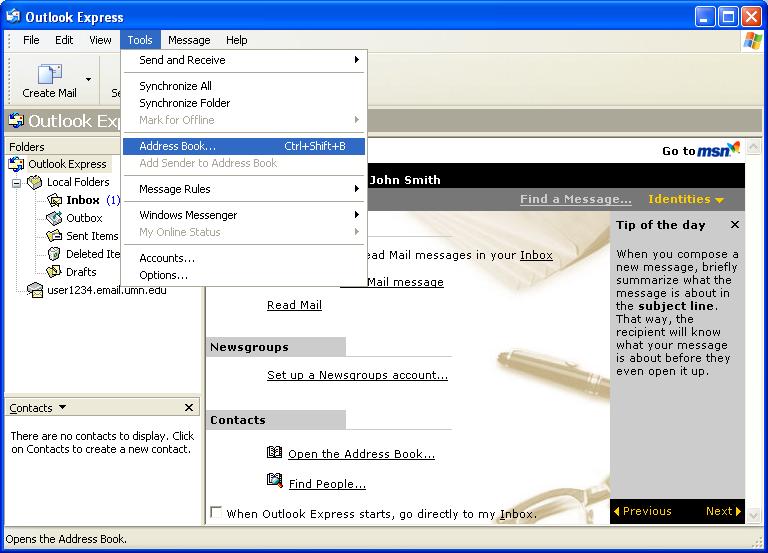
1) To open the Address book click on "Tools" in the menu bar, then select "Address Book"
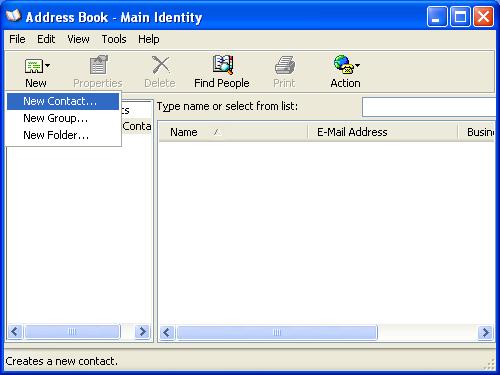
2) To add someone to your personal address book, click on the "New" button and then select "New Contact"
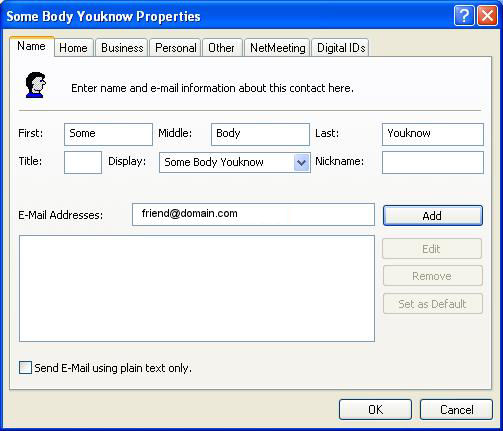
3) Fill out as much information as you feel necessary in the window that appears, then click "Ok"
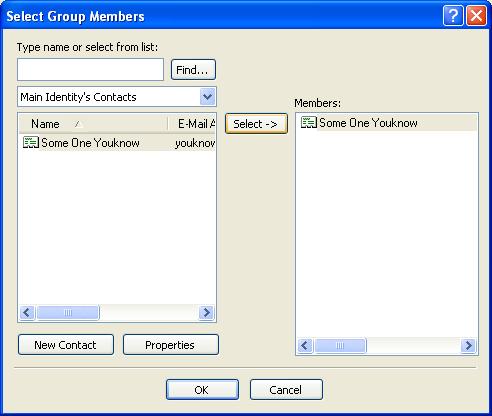
4) You should now notice a new entry in your Address Book. We can also create e-mail lists by clicking on "New" again and selecting "Group List" to get this page. In "Group Name" type what you want to name the e-mail list, and then click "Select Members"

5) To Add users to the list, select them in the window on the left, and click on "Select" to move them to the right (which represents the list members). When done, click "OK" to exist the "Select Group Members" window, and then "OK" again to exit the list properties window.
6) To use the address book in addressing a letter, first start a new e-mail by going to "New" and then selecting "Mail Message". Clicking on the little "book" icon next to the "To: " address line will bring up the address book. Simply select the names you wish you appear in the To:, CC:, and BCC: fields, and move them to the proper boxes with the arrow keys, then click "OK"
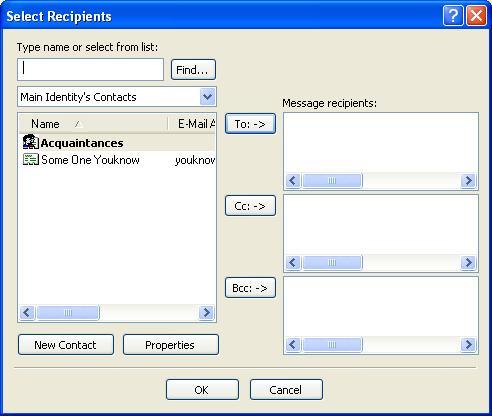
7) The addresses are inserted into the proper spots in the e-mail header fields, and you are ready to compose your letter.

webmaster@icsisp.com